This morning Rowena from
Sei Bella Nails & Beauty came to my house to tackle my (and only I am allowed to say this) dry flaky finger nails and my VERY dry and neglected feet. After a consultation over email where I told Rowena I am a Mum to a busy toddler and a make-up artist where my hands need to look lovely and presentable she recommended Shellac nails for me and I jumped at the chance.
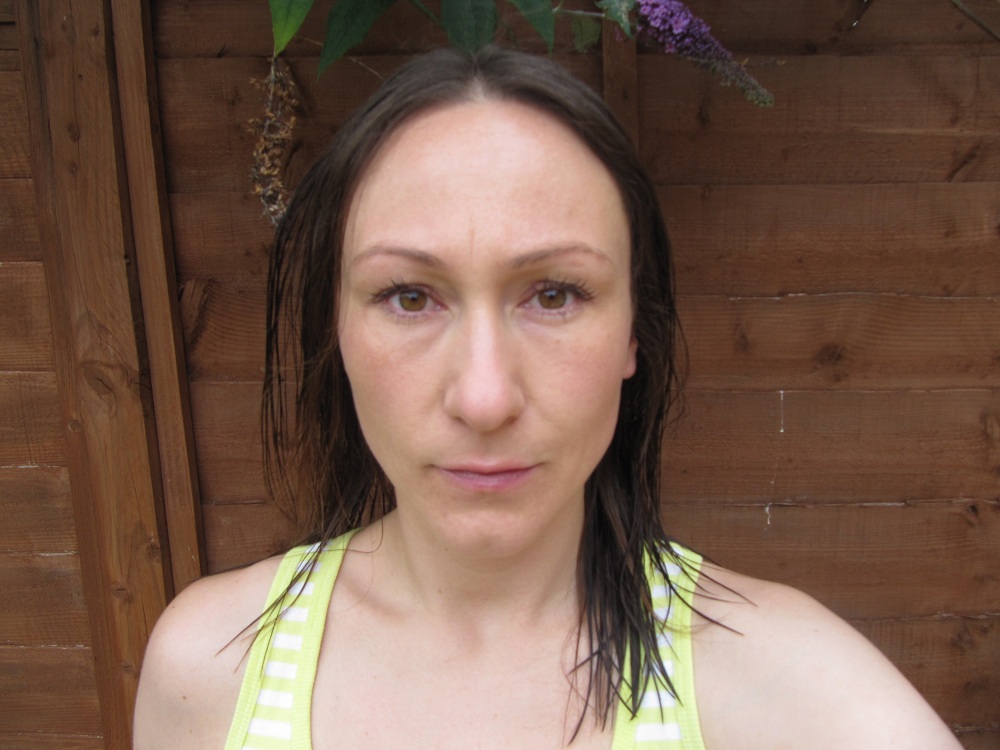
![]() |
| My nails before any treatment |
First of all Rowena gently filed my nails and attended to the cuticle area to create a smooth base for the Shellac to go on to. She then applied a coat of the CND Shellac base coat and this was allowed to set under the UV lamp for just 10 seconds.
![]() |
| Base coat has been applied and under the UV lamp for 10 secs |
After the base coat she applied a layer of
CND Shellac 'Cocoa' to each nail and each hand was placed under the UV lamp for 2minutes - the process was then repeated so that two coats of the coloured polish were on each nail. Even without the top coat my nails gleamed and glistened in the natural daylight.
Check out the final look. I totally love this colour, do you?
![]() |
| CND 'Cocoa' - the finished look |
My toes were done in much the same way but instead of 'Cocoa' I opted for 'Wildfire' which is a vibrant but traditional red - see the images below
![]() |
| Ta-Daaaaa. My finished CND 'Wildfire' and luxury pedicure |
![]() |
| I think I need to tan my feet / legs now I have these fab nails :) |
For the luxury pedicure Rowena used the following products in order. It was so wonderfully relaxing but could have been more relaxing if my 14m old toddler wasn't jumping all over me and Rowena and trying to hide all of her products!
CND Luxury Marine Spa Pedicure
1 - Mineral Bath Sea Soak
2 - For exfoliating legs - Marine Salt Scrub
3 - Exfoliating base of foot - Sea Scrub
4 -
Solar Oil and cuticle eraser on nails and cuticles plus Sea Serum on hard skin patches
5 - Marine Cooling Masque
6 - Massage with Marine Hydrating Oil
7 - Cucumber Heel Therapy Cream to finish
I have to say as I sit here at my computer I can smell wafts of the
CND Marine products that Rowena used and it is making me feel really relaxed. The foot massage skills that she has too are fantastic, she is firm but fair and I even stopped talking for about 4 minutes which means she really must have hit the spot!
One of the products that she used I already had and have recommended it to countless people over the years, this is Solar Oil. I buy this from
Cult Beauty but there are lots of places online to get it from. It works so well with Shellac (which was new to me) as it penetrates through the formula and conditions your nails, it also conditions the cuticle area wonderfully. Rowena recommended buying a few tiny bottles of it (which she sells for £4 each) to keep in your bathroom, kitchen, handbag etc - this way you have no excuse for not applying it. I thought this was a simple but brilliant tip as I often can't find mine so I don't use it, hence the flaky dry nails I normally have. Solar Oil is £11.95 for a large bottle, but will last forever.
I would recommend Rowena without a doubt but I do have one very minor minor point to make: I do think that the edge of the nails could have been cleaned up a tiny bit more than they were so that there was no colour on the skin but I honestly don't think of this as a criticism of Rowena, I truly liked her and her work was good! I will post some more pictures of how they look after two weeks so you can see how they wear.
So if you live in London email Rowena at
info@seibellabeauty.co.uk for a consultation and quote.
![]() |
| My daughter Nancy and Rowena The Shellac Queen! |
ONE WEEK LATER
Well, it's 8 days later and unfortunately due to the Shellac peeling off on 2 nails I had to remove it. The method I used was to soak a cotton pad with acetone (check the ingredient list on your nail varnish remover for acetone) for each finger, therefore x10. I wrapped the pad around each nail and wrapped it tightly with a square of tin-foil - it sounds a bit weird and it also looks a bit weird, I felt like Edward 'Tinfoil' Hands! Leave for 10 minutes. When the time is up, remove one of the wrappings and scrape off the Shellac using a wooden nail stick. If there are any stubborn bits of Shellac, use one of the already acetone soaked pads to gently wipe over the nail until it comes off. Repeat for each nail. After rinsing the hands with soap and water dry and generously apply Solar Oil to each nail and massage in. Do this as often as you remember for the next 48hrs.
Summary - I loved the look and feel of Shellac, but it didn't last for the 2 weeks. I used gloves for housework and applied the recommended Solar Oil at least 4 times a day, so I am not really sure what went wrong. It wasn't cheap either so I don't think I would have Shellac again in a hurry, I'm going to stick to my OPI and Barry M colours!